How to Shoot Portraits in your Local Park?
Spring is in full bloom and I am so excited to show you guys my recent spring theme photoshoot with Lucy Bennett. This session was mainly for my Youtube Channel to show what I look out for when taking photos outdoors, things to avoid and how to compose properly!
Have a watch on my Youtube Channel - Alyssa & Peter Zalabai or read the content below.
Here is the summary:
When it comes to shooting in areas with lots of trees, it can be a bit tricky! There are too many distracting elements around, even if everything can look very nice for our eyes, not everything will look good in photos. I remembered being very intimidated in places like this as composition can be a challenge. On bright sunny day, you may have very strong light leaks coming out of the trees and during overcast, the trees can completely block what light you have available.
They always say that the best time to shoot is Golden hour, this is true to some extent. The sun is low enough to not cause overexposed images , strong shadows and it lights up the sky evenly, and as the name states, Golden Hour, you can also get very nice golden colour in the sky which is beautiful in photographs. But, what if you don’t have time shoot in Golden hour, especially in Spring and Summer time where the sun sets very late, around 8PM sometimes.
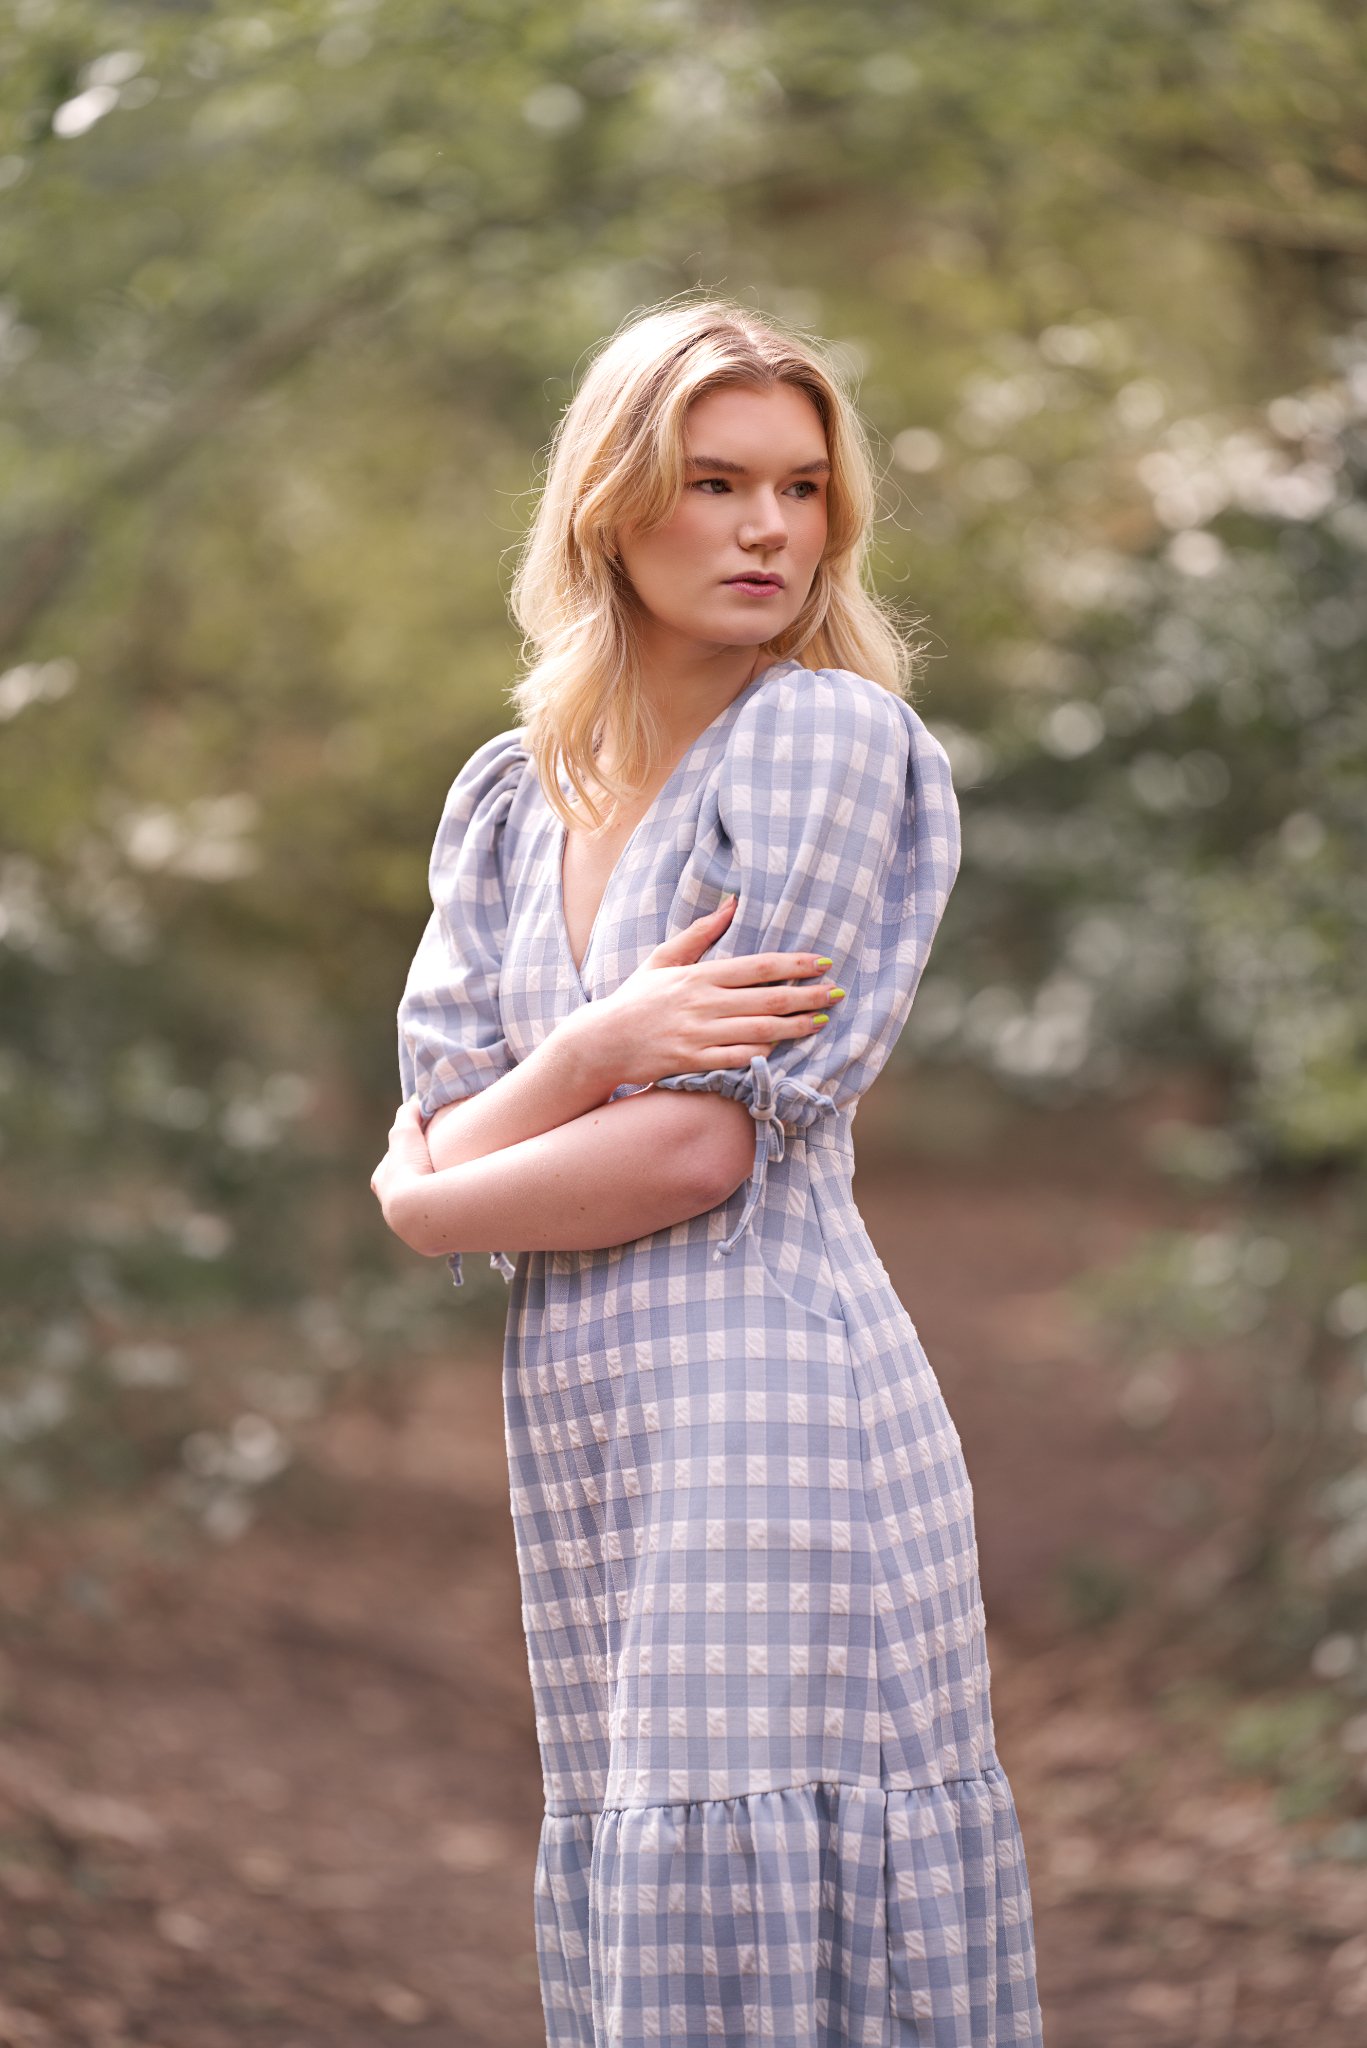
You can actually shoot just about any time of the day, but you have to be smart when you do. There are ways you can do to work with bright sunny day (which is by the way, a rare occasion here in the UK haha) You can either shoot with it on purpose, play with the strong shadows or use it for hair light like what I did for my Spring shoot. Or you can completely avoid it and find a shady area to take photos.


The next one is composition…
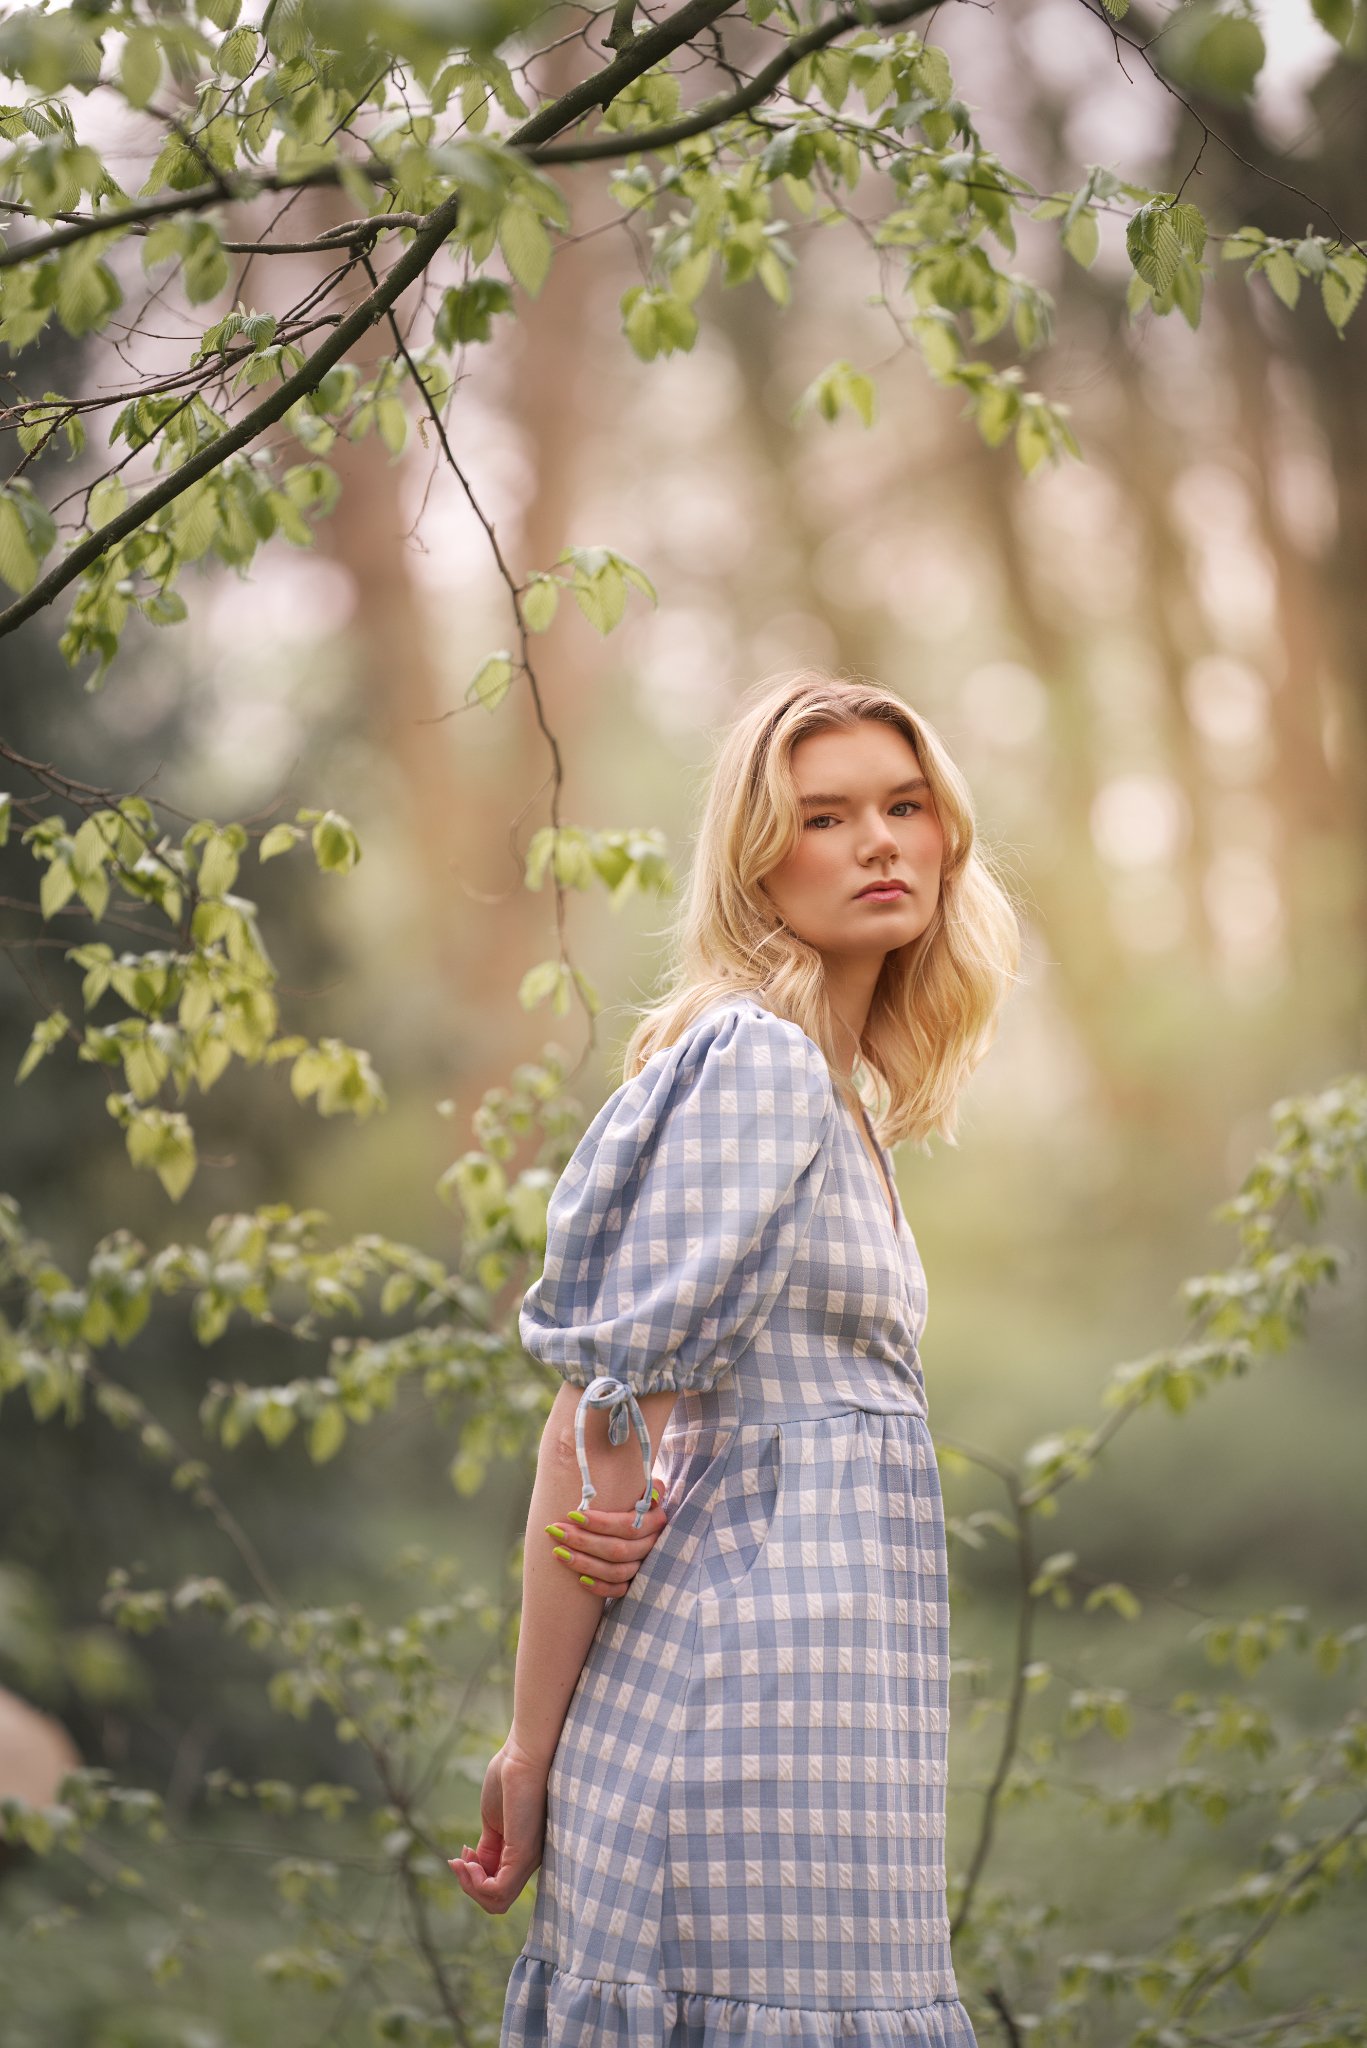
Parks and forests are filled with trees and I love that on my photos! But you need to look out for when composing in areas like this. Make sure that there are no trees coming out of their body in a very distracting and obvious way! It doesn’t look good and it looks like as if a plant or tree or twig is coming out of your subject or they look like they are impaled. Take your time and experiment in different angles and don’t be afraid to ask your model to move for you, it is better to take sometime in composing and get good photos. See the sample below where I shot Lucy with a tree coming out of her back and head compared to if I just move a bit and avoid them completely.


You can also take advantage of trees and use them as your natural framing. By doing this, you are leading the viewers eyes to your subject.


As I’ve said, you have to take advantage of trees, and another way of doing this is incorporating them in your photos, not just as a bokeh but part of the story you are trying to tell. Give your viewers that nature feel, answer their questions such as where are you taking the photos?
So instead of having the trees just as an element for your picture, include them in your photos by having your subject stand closer or under them, this works better if you find a tree with low hanging branch to place your subject in. This is one of my favourite poses and composition when it comes to taking photos in nature.

The last one is defocusing your camera to find good spots to shoot in. It’s better if you watch the video as I am showing there how to do it.
Apart from shooting with trees, I am looking for long hollow spot to place my subject in (Again, better watch the video)
This plays really well in bokeh! With this session, I am using the Samyang AF 135mm f1.8 which already creates very creamy artistic blur, but in the past, I have used 85mm heavily, and this trick will completely lay out your lens’s bokeh capabilities as this will better the subject separation.


So, there you go guys! I hope this helps you on your next photoshoot and give you confidence in creating your craft! Don’t forget to subscribe to my Youtube channel and happy shooting!